
Using Connectors and Antennas
Fully Charge the RF Explorer PRO
Why a Full Charge is Important
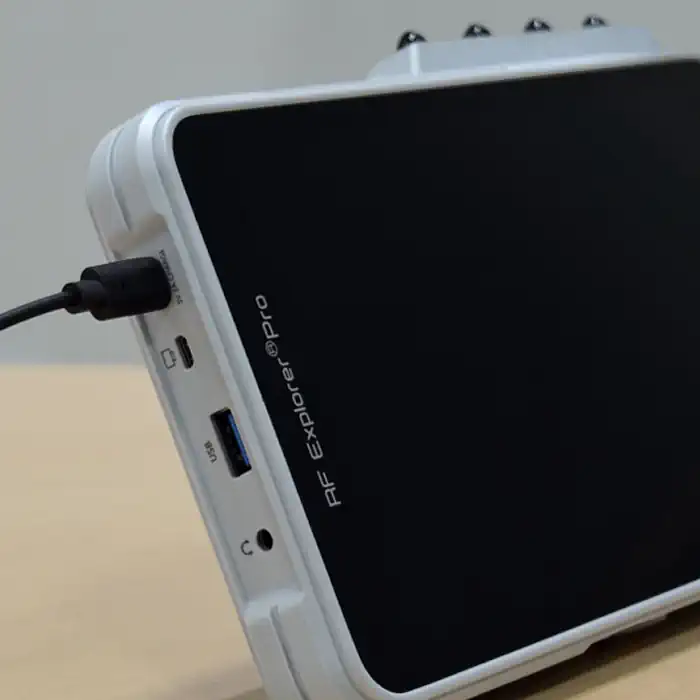
Before using your RF Explorer Pro for the first time, it is essential to fully charge the battery for at least 3 hours. The device ships with the battery at approximately 50% capacity to extend its lifespan. A full charge before initial use helps properly calibrate power levels and ensures stable operation. Running the device on a low battery may cause unexpected shutdowns, potentially affecting measurements and corrupting configuration files.
Charging Procedure and Best Practices
To charge the device, connect the USB-C charging port using the supplied black USB cable and plug it into a 5V USB charger with at least 2A output for faster and more efficient charging. For the quickest charge cycle, it is recommended to turn off the RF Explorer Pro while charging.
Although the device can operate while being charged, keep in mind that charging will take longer, and the device may generate extra heat due to simultaneous power consumption. For prolonged use, it is advisable to keep it connected to a charger rather than relying solely on the internal battery.
Important Safety Notes
Always use a standard 5V USB charger. Do not attempt to charge the device using a USB-C Power Delivery (PD) charger or any power adapter providing more than 5V, as this may damage the battery. Additionally, charging via a computer USB port or low-power adapters will not sufficiently charge the internal battery.
Register Your RF Explorer PRO
Why Registration is Important
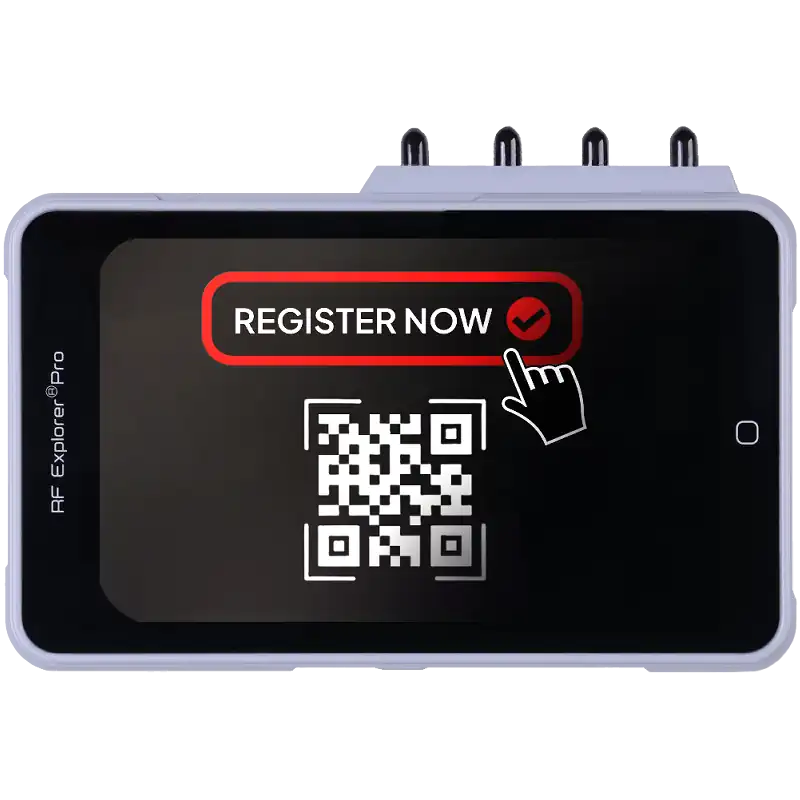
Registering your RF Explorer Pro is an essential step to ensure access to firmware updates, technical support, and warranty coverage. By registering, you confirm that your device is a genuine RF Explorer product, protecting yourself from counterfeit or unauthorized units. Additionally, registration allows you to receive important notifications about software updates, feature enhancements, and potential bug fixes.
Registration Process
To register your device, visit register.rf-explorer.com and follow the guided steps. During registration, you will be asked to provide your RF Explorer Pro serial number (S/N), which can be found in Config → About screen on your device.
Important Notes
- Only genuine RF Explorer Pro devices can be registered, ensuring you receive official support and updates.
- Firmware updates and troubleshooting assistance may require prior registration.
- Ensure the serial number and user information are accurately entered to avoid delays in support requests.
Upgrade the Firmware
Why Firmware Updates Matter
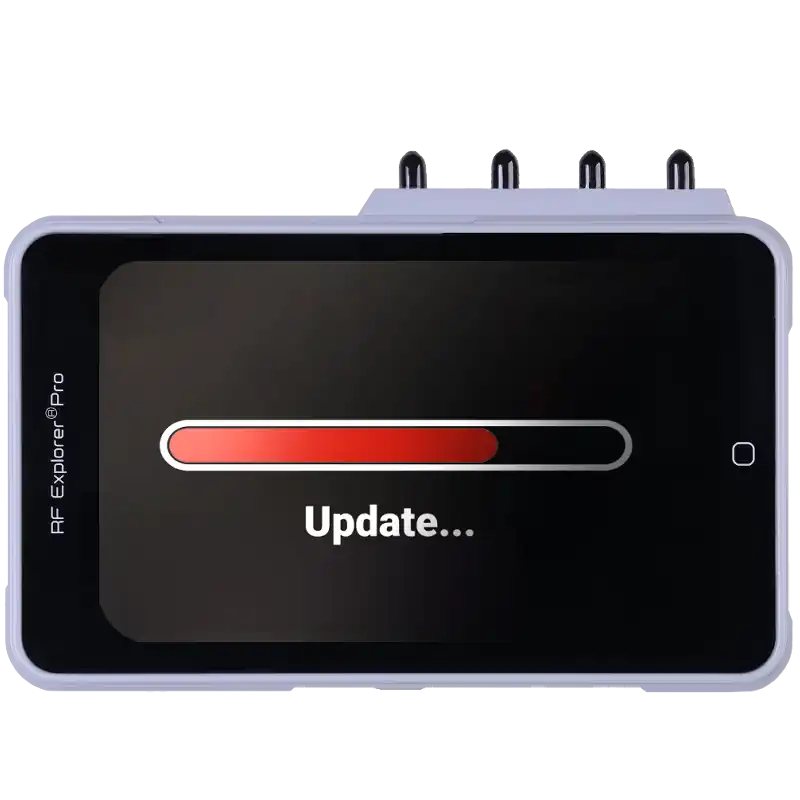
Keeping your RF Explorer Pro firmware updated ensures access to the latest features, performance improvements, and bug fixes. Updates may introduce new scanning modes, enhanced signal processing, and expanded compatibility with external tools. Regular firmware updates keep your device operating at peak efficiency and fully supported.
How to Upgrade the Firmware
Visit the Firmware Upgrade Guide and download the latest version.
Important
- Use only official firmware versions from the RF Explorer website.
- Do not download or install software from unauthorized sources.
- RF Explorer official software is guaranteed malware-free, robust, and covered by support. Installing unauthorized or malicious software may permanently damage your device beyond recovery.
Avoid Unauthorized System Changes

Why You Should Not Modify the Software or Drivers
The RF Explorer Pro is designed to work with its preinstalled software and officially supported tools. Do not install, modify, or attempt to update drivers or system software, as this is not supported and may lead to unexpected behavior, data loss, or device malfunction. Unauthorized modifications can interfere with core functionality, prevent firmware updates, and negatively impact performance.
How Unauthorized Changes Affect Your Device
Modifying or replacing system files may result in:
- Loss of compatibility with RF Explorer tools and software.
- Reduced performance or incorrect RF measurements.
- Inability to receive firmware updates or official support.
- Warranty invalidation, making the device ineligible for technical assistance or repairs.
Understanding Warranty Coverage
The RF Explorer Pro warranty covers manufacturing defects and hardware failures under normal usage. However, it does not cover issues caused by:
- User reconfiguration of the device outside of supported settings.
- Windows system changes affecting communication with the RF Explorer Pro.
- Computer name changes that interfere with software licensing or device connectivity.
- Third-party driver installations or unauthorized firmware modifications.
To ensure continued warranty coverage and optimal performance, always use official RF Explorer software and tools. If you experience any issues, refer to the User Manual or contact official support before making any system modifications.
Connecting to a Network for Remote Control
Overview of Network Connectivity
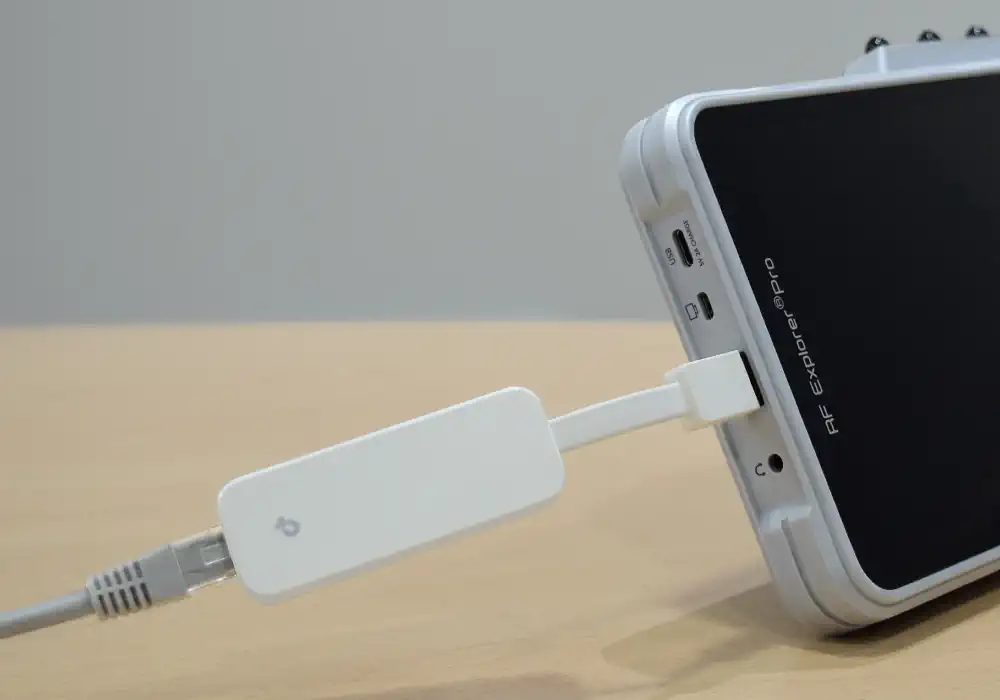
The RF Explorer Pro is a standalone host computer, meaning it cannot be directly connected to a PC via USB like a traditional peripheral. Instead, it requires network access to enable remote operation from a computer, tablet, or mobile device.
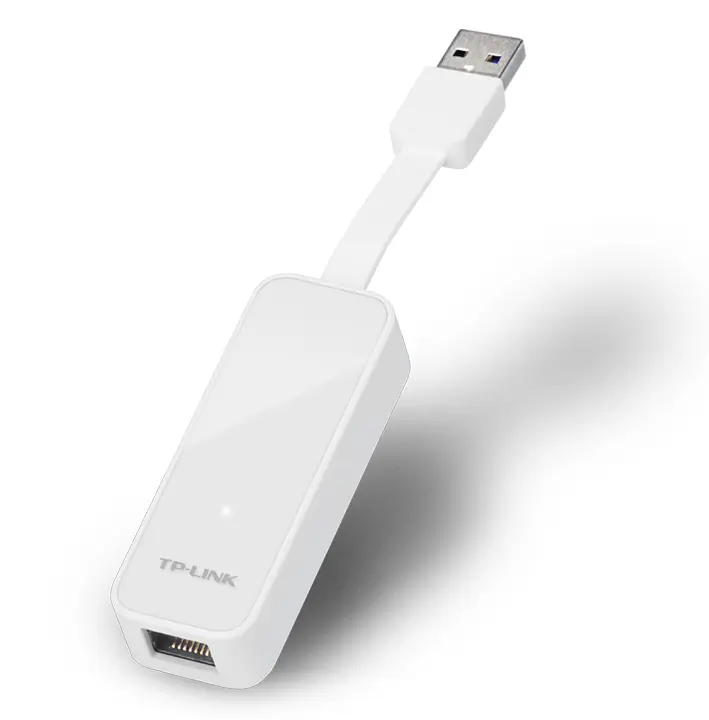
To achieve this, the RF Explorer Pro can be connected to a wired network using a USB-to-Ethernet adapter. Once connected, the device can be accessed remotely using VNC (Virtual Network Computing) from any compatible device (Windows, macOS, Linux, iOS, Android).
Best Connection Method
- A wired Ethernet connection is the most stable and interference-free way to access RF Explorer Pro remotely.
- Only the USB 3.0 Type-A port can be used for connecting a USB-to-Ethernet adapter—the USB-C port is not for network access.
- WiFi dongles are not recommended, as they introduce RF interference, affecting measurement accuracy. If a WiFi dongle is necessary, it should be placed at least 2 meters (6 feet) away from the analyzer using a USB extension cable.
- A recommended USB-to-Ethernet adapter is the TP-Link UE300, which provides reliable compatibility and a plug-and-play experience.
For More Details
Using VNC (Virtual Network Computing) is a standard method for remote access and is widely supported across various platforms. If you are new to VNC or need help configuring your network connection, refer to the detailed step-by-step guide below.
For full instructions on setting up Ethernet connectivity, verifying network status, and accessing RF Explorer Pro remotely, click on the detailed article below.
Perform a UHF Scan Test
Why Scanning in UHF is Useful
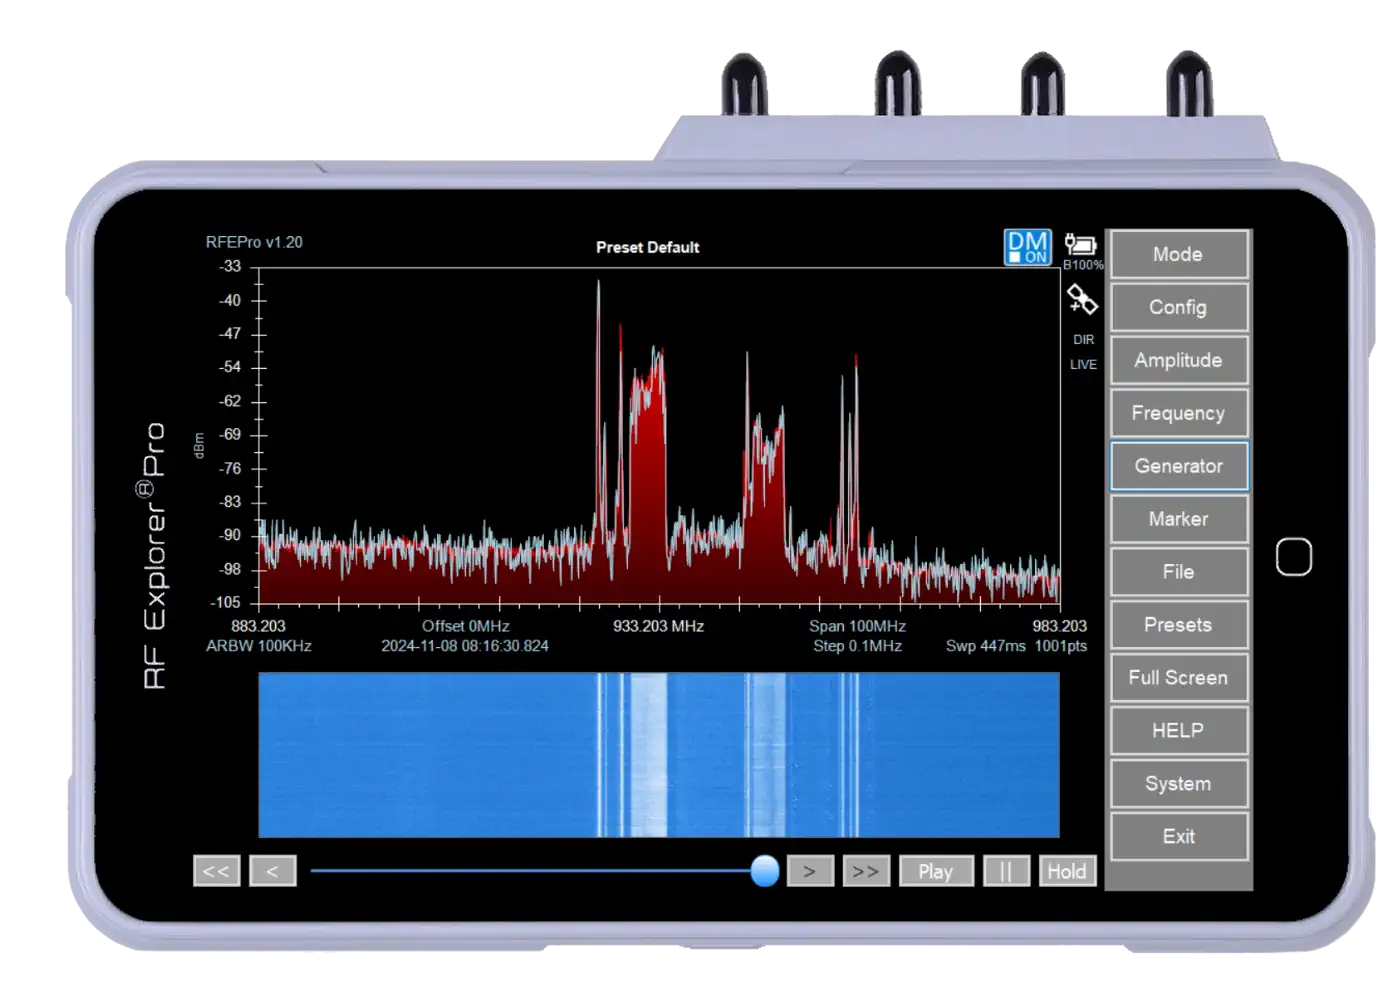
The Ultra High Frequency (UHF) band (400–900 MHz) is widely used for wireless microphones, television broadcasting, two-way radios, and other communication systems. Performing a UHF scan with your RF Explorer Pro allows you to identify active frequencies, detect interference, and optimize channel selection for wireless equipment.
How to Perform a UHF Scan
- Attach the Gray Antenna
- The gray antenna is optimized for the UHF band and provides better reception in this frequency range.
- Power on the Device and Enter Spectrum Analyzer Mode
- Navigate to the Spectrum Analyzer menu on the RF Explorer Pro.
- Set the Frequency Range
- Define the start and stop frequencies based on the specific UHF range you want to scan.
- A typical scan might cover 470 MHz to 700 MHz for wireless microphones or 400 MHz to 900 MHz for general UHF analysis.
- Start the Scan and Analyze Results
- Observe the signal peaks to identify active transmissions.
- Adjust settings like resolution bandwidth (RBW) for better resolution of closely spaced signals.
- Use markers and peak hold functions to highlight and track frequency activity.-
Conduct a WiFi Scan
Why WiFi Scanning is Useful
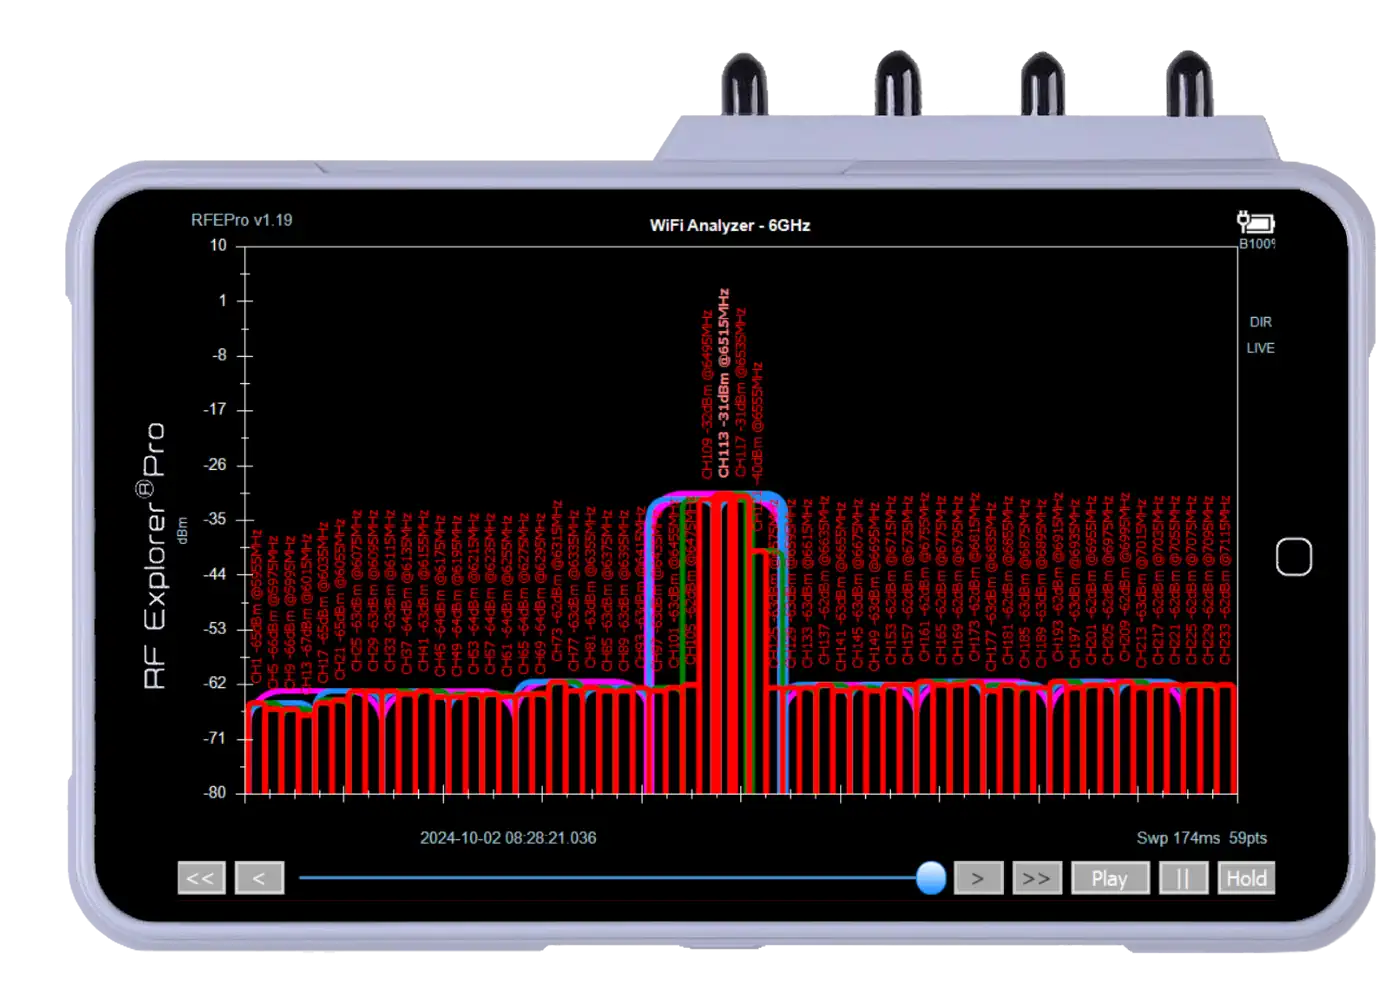
Wireless networks operate primarily in the 2.4 GHz and 5 GHz bands, but these frequencies can become congested due to overlapping networks, Bluetooth devices, and other wireless signals. Scanning the WiFi spectrum with RF Explorer Pro helps identify channel congestion, interference sources, and the best available frequencies for your network.
How to Perform a WiFi Scan
- Attach the Black Antenna
- The black antenna is optimized for WiFi frequency bands (2.4 GHz and 5 GHz) and ensures accurate signal detection.
- Enter the WiFi Scanner Mode
- Select WiFi Analyzer Mode from the main menu.
- Choose the Frequency Band
- Select 2.4 GHz to scan standard WiFi networks and Bluetooth signals.
- Select 5 GHz for scanning high-speed wireless networks and avoiding congested 2.4 GHz channels.
- Analyze Network Activity
- Identify WiFi access points, signal strength, and occupied channels.
- Locate interference sources from overlapping networks or nearby RF emitters.
- Optimize channel selection to reduce congestion and improve network performance.
Avoid Strong RF Signal Levels
Why Protecting the RF Input is Important
The RF input of the RF Explorer Pro is highly sensitive and designed for accurate signal analysis. Exposing the input to excessively strong RF signals can cause permanent damage, leading to hardware failure, incorrect readings, or degraded performance. To ensure long-term reliability, always keep signal levels within the safe operating range.
Maximum Safe RF Input Levels
To prevent damage, follow these maximum allowed power levels based on the mode of operation:
- Direct Input Mode (no attenuator, no amplifier): Maximum +10 dBm
- With External Attenuator (e.g., 30 dB SMA attenuator): Maximum +35 dBm
- With LNA (Low-Noise Amplifier) Enabled: Maximum -10 dBm
Best Practices to Prevent RF Overload
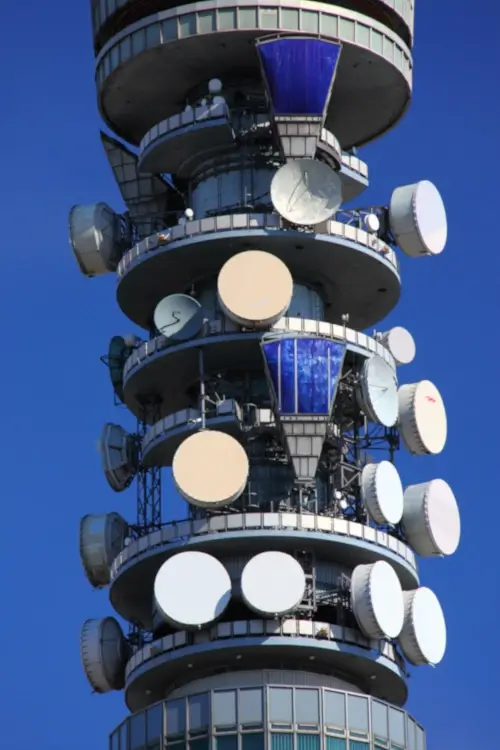
- Never connect RF Explorer Pro directly to a high-power transmitter. Use an external attenuator when analyzing strong signals, such as broadcast towers, cellular base stations, or RF amplifiers.
- When measuring unknown RF sources, start with internal attenuator to avoid accidental overloading.
- Avoid placing the antenna too close to strong RF transmitters, such as WiFi routers, high-powered two-way radios, or TV broadcast antennas. Instead, move farther away and gradually approach until safe readings are achieved.
- If using an external amplifier, ensure that the amplified signal does not exceed the safe limits of the RF input.
Test Power Meter Mode
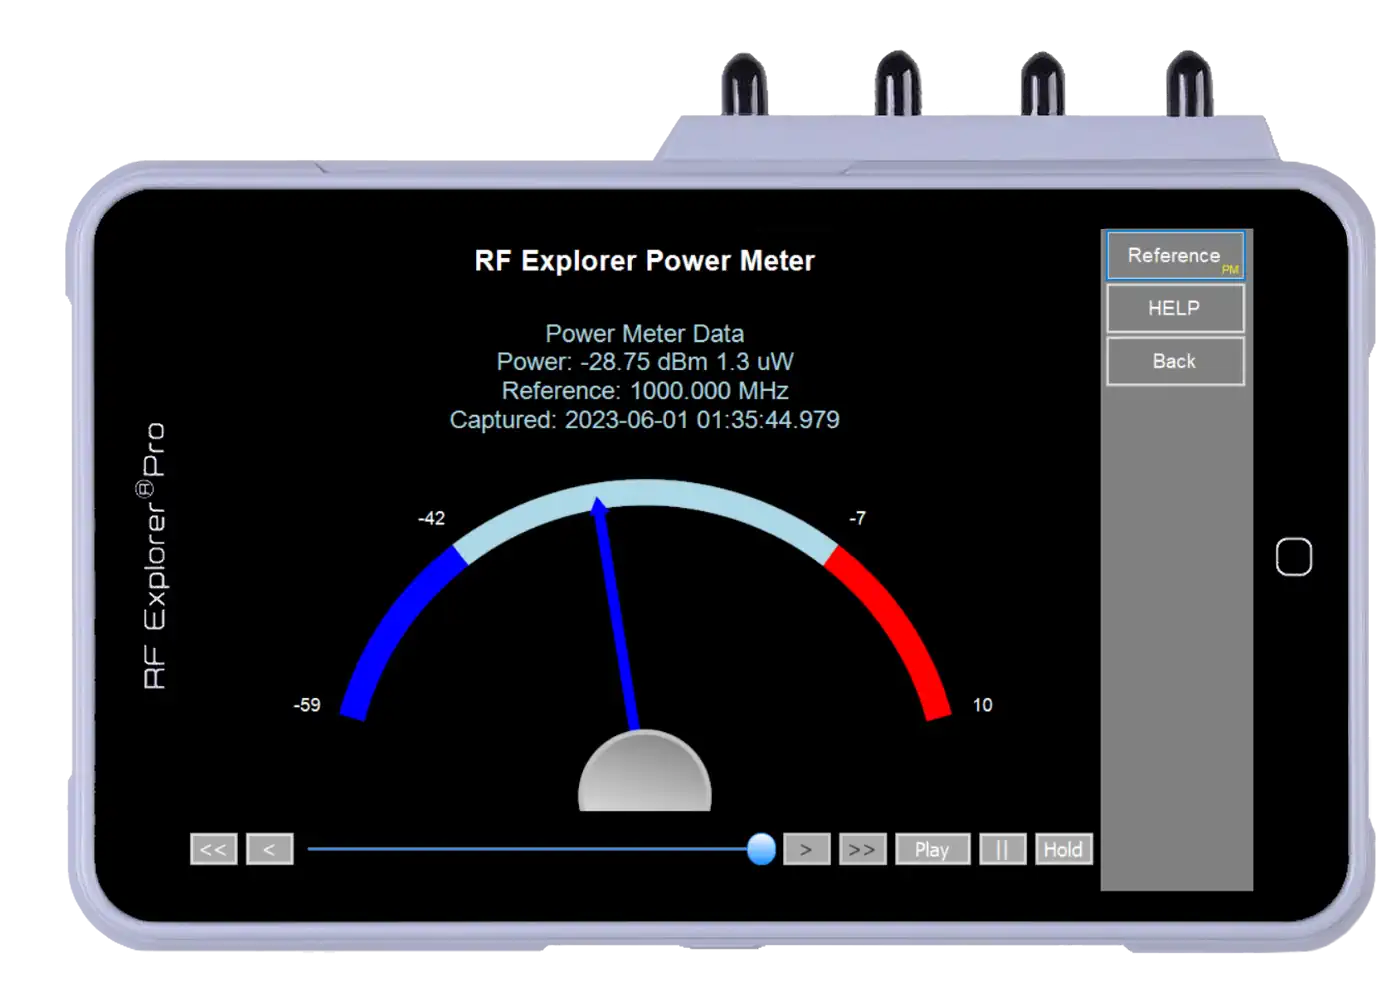
Why Power Meter Mode is Useful
The Power Meter Mode in RF Explorer Pro allows for high-precision RF power measurements over a wide frequency range. This mode is useful for:
- Measuring transmitter output power.
- Verifying signal strength across different frequency bands.
- Detecting high-power RF sources that could cause interference.
How to Use Power Meter Mode
- Attach the Black Antenna
- The black antenna is recommended for broadband RF detection and ensures more stable measurements.
- Enter Power Meter Mode
- Navigate to the Mode menu on the RF Explorer Pro.
- Select Power Meter Mode from the available options.
- Observe Power Readings in Real-Time
- The screen will display the measured RF power level in dBm.
- Move the RF Explorer Pro closer or farther from a signal source to observe power variations.
- Common sources of strong RF signals include:
- Cell phones (place a phone call and measure the signal strength variation).
- Microwave ovens (detect unintended RF leakage).
- Radio transmitters (check power levels at different distances).
Best Practices for Power Meter Measurements
- Avoid exceeding safe RF input levels—Power Meter mode is designed for wideband detection.
- Perform measurements at different distances to analyze signal behavior in real-world environments.
- Compare readings over time to identify interference patterns or fluctuating RF sources.
Use High-Quality RF Adapters and Cables
Why RF Adapter and Cable Quality Matters
The RF Explorer Pro uses high-frequency SMA connectors, which are precise and sensitive to mechanical stress. Using low-quality adapters or cables can introduce signal degradation, impedance mismatches, measurement inaccuracies, and even physical damage to the connectors. To ensure optimal performance, always use high-quality RF accessories that match your application requirements.
Recommended RF Accessories
- Use only gold-plated, low-loss SMA adapters and cables to minimize insertion loss and maintain signal integrity.
- For converting to other connector types, such as BNC, N-Type, or TNC, use high-quality adapters with proper impedance matching (50Ω).
- When using external antennas or splitters, ensure the RF power level is within safe operating limits to protect the device.
Avoiding Connector and Device Damage
- Never force an adapter or cable onto the SMA connector—SMA threads are delicate and should be gently hand-tightened.
- Avoid using stiff, heavy cables directly connected to the device, as they can apply mechanical stress and damage the internal soldering of the SMA connector.
- Use right-angle or flexible pigtail adapters if you need to reduce strain on the connectors.
By using quality adapters and cables, you ensure accurate signal measurement, prolonged device life, and avoid costly repairs.

Maintain Proper Ventilation

Why Proper Ventilation is Important
The RF Explorer Pro is designed to operate reliably under normal environmental conditions. However, prolonged use or improper placement can cause heat buildup, which may affect performance and reduce the lifespan of internal components. Ensuring adequate ventilation prevents overheating, maintains measurement accuracy, and extends the device’s longevity.
Best Practices for Heat Management
- Do not place the device flat on a surface for extended periods, as this restricts airflow to the back cover, which serves as a passive heat dissipation area.
- Keep the device in a vertical or slightly inclined position during prolonged use to allow for proper cooling.
- Avoid using the RF Explorer Pro in direct sunlight or high-temperature environments for long periods.
- If using the device while charging, be aware that it may generate additional heat. This is normal, but ensure it remains in a well-ventilated area.
What to Avoid
- Blocking the back cover with non-breathable materials, such as plastic cases or thick fabric surfaces.
- Enclosed spaces with poor airflow, such as inside drawers or tightly packed equipment racks.
- Prolonged exposure to excessive heat sources, such as near power amplifiers or hot electronic devices.
Following these best practices ensures safe operation, accurate measurements, and long-term reliability of your RF Explorer Pro.